Step 1
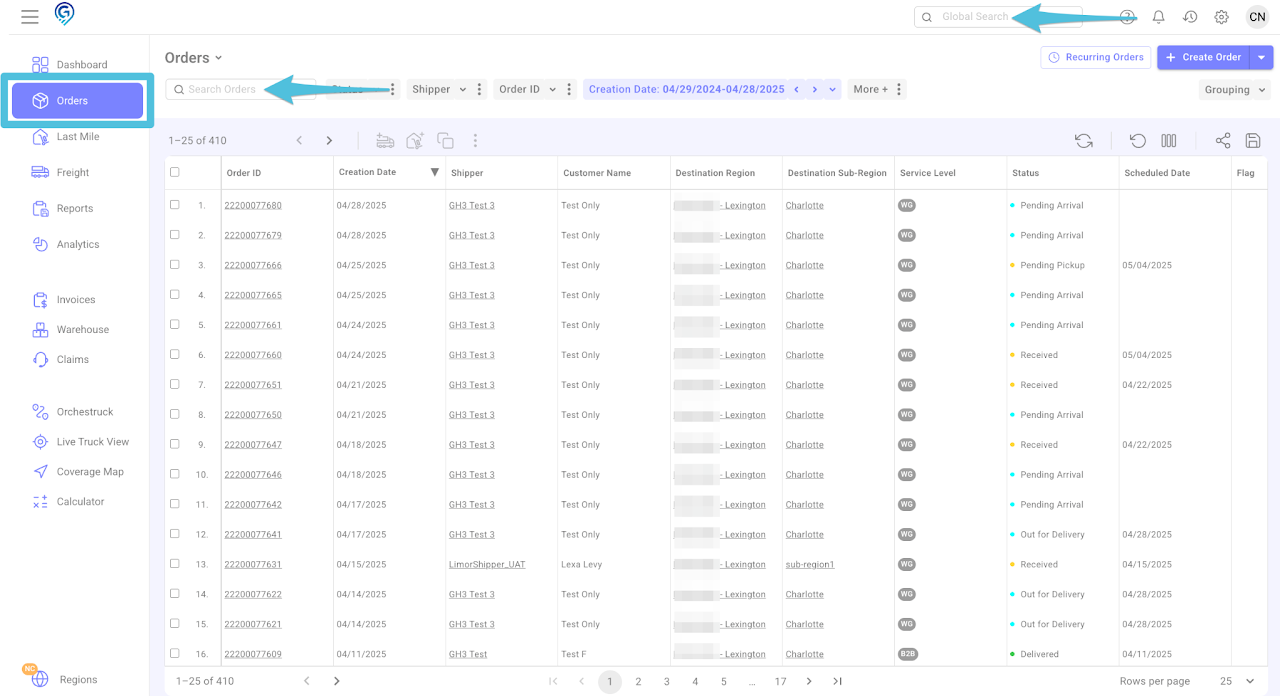
Enter the Purchase Order Number or Grasshopper Order ID, then click to open.
You can search using either the Global Search Box or by navigating to the Orders Section.
Step 2
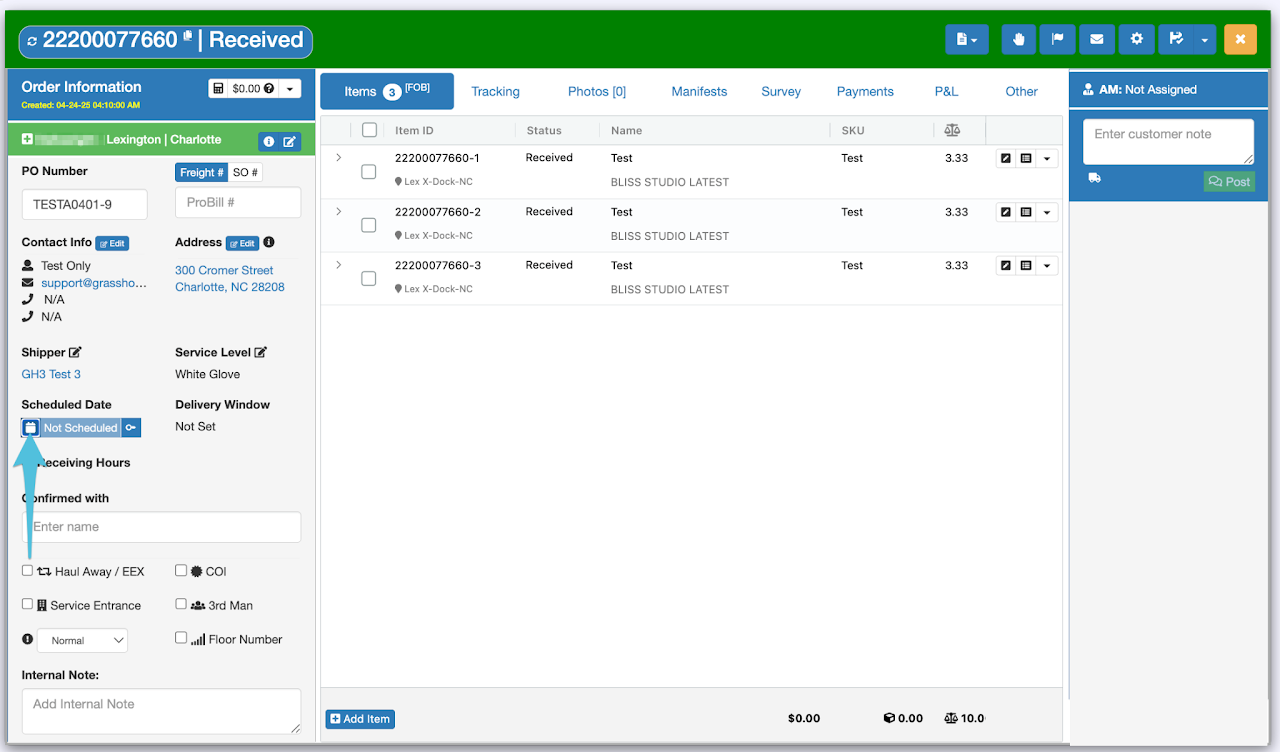
In the Scheduled Date section, click the calendar icon to open the available dates.
Step 3
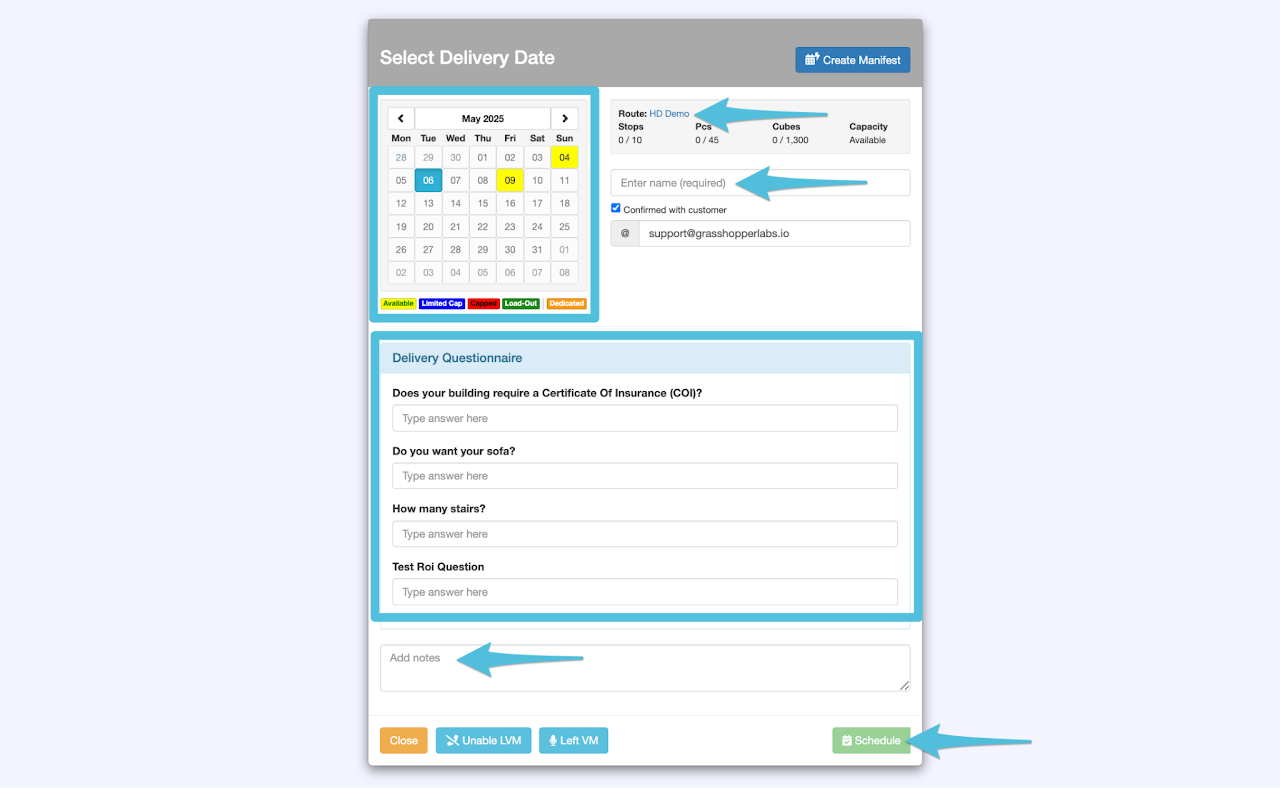
Select the available route highlighted in yellow. If multiple routes are available for the selected day, use the drop-down list to choose the appropriate route.
Next, tick the box labeled Confirmed with Customer and enter the name of the individual who confirmed the schedule.
If the Delivery Questionnaire appears (only if enabled), please complete it accordingly. Click here to enable the Delivery Questionnaire.
Add any necessary notes, then click Schedule to finalize the booking.
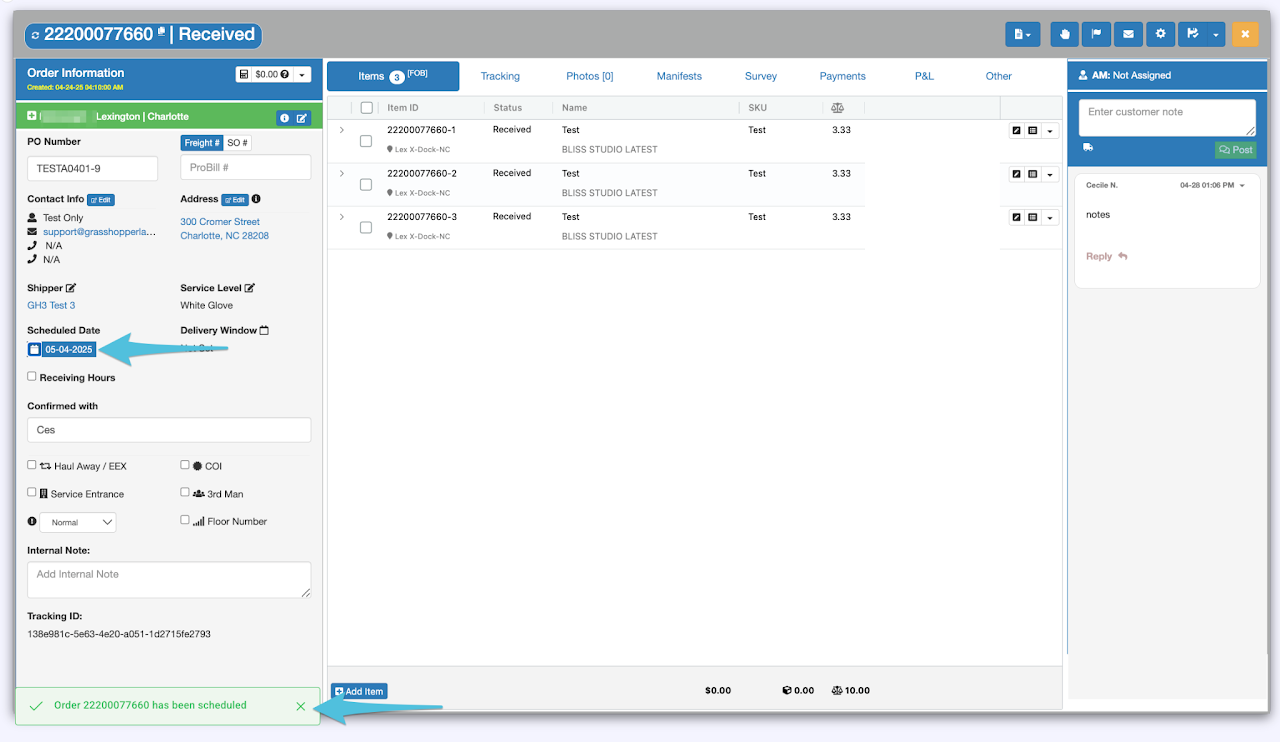
If the consignee has indicated specific receiving time restrictions, you may enter them by ticking the box next to Receiving Hours and inputting the designated time. Then choose either Requested or Required from the drop-down menu.
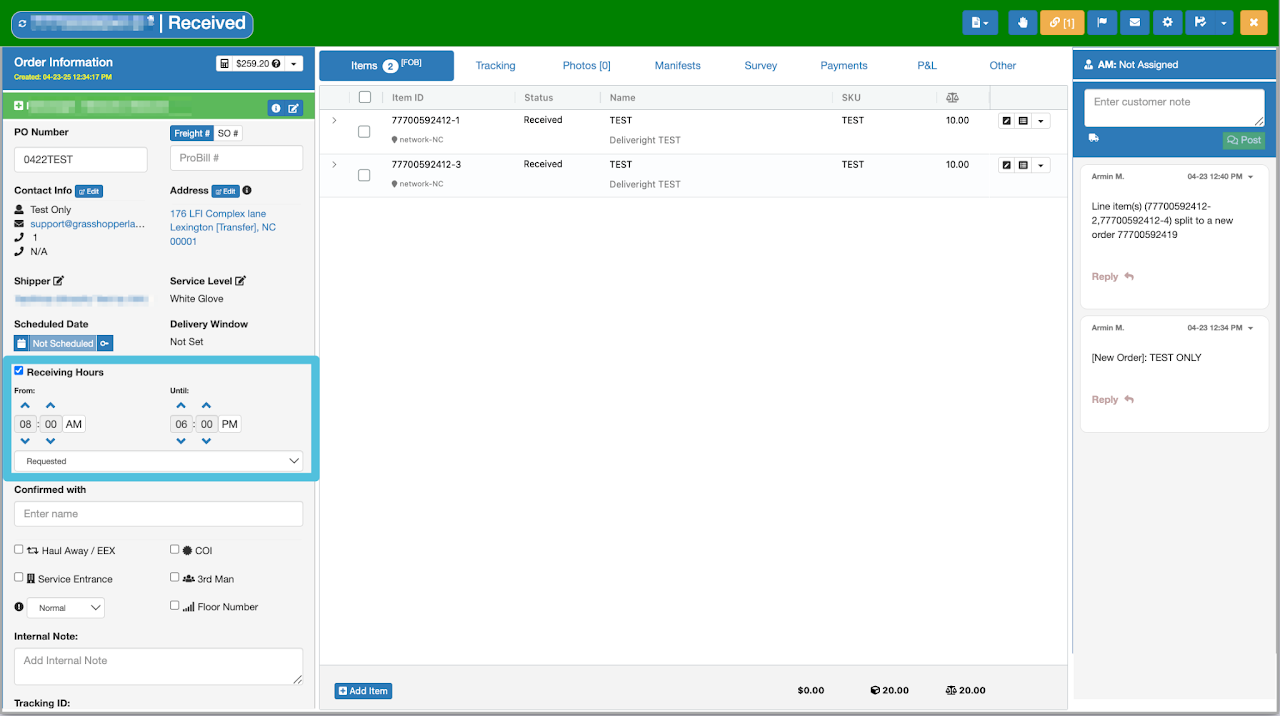
Confirmation that Home Delivery has been successfully scheduled
