Step 1
Click Freight
Select the date for the Manifest and click +Outbound

Step 2
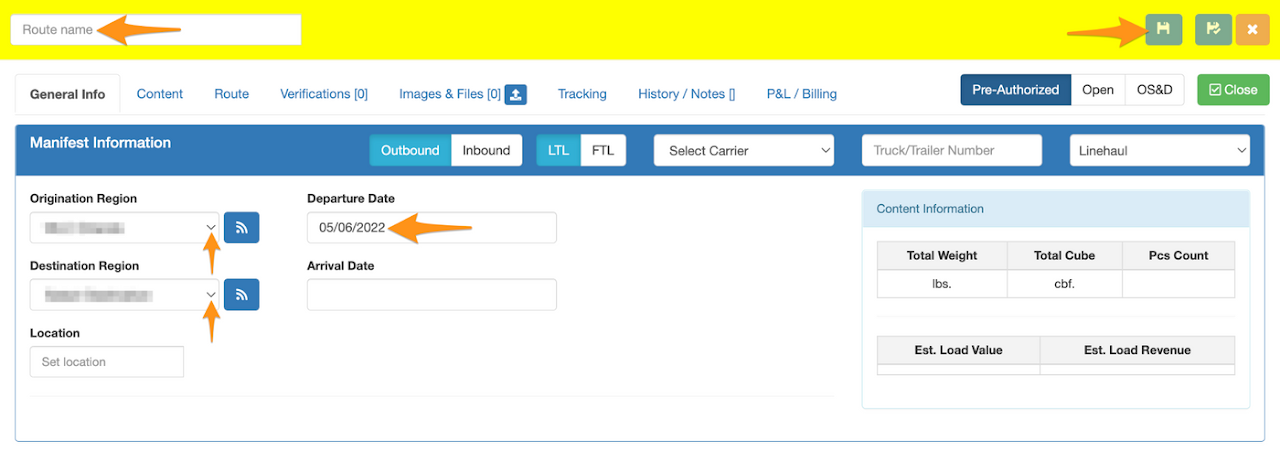
Enter the following required information the click Save
- Route Name (Manifest Name)
- Origination Region
- Destination Region
- Departure Date (Pick Up Date)

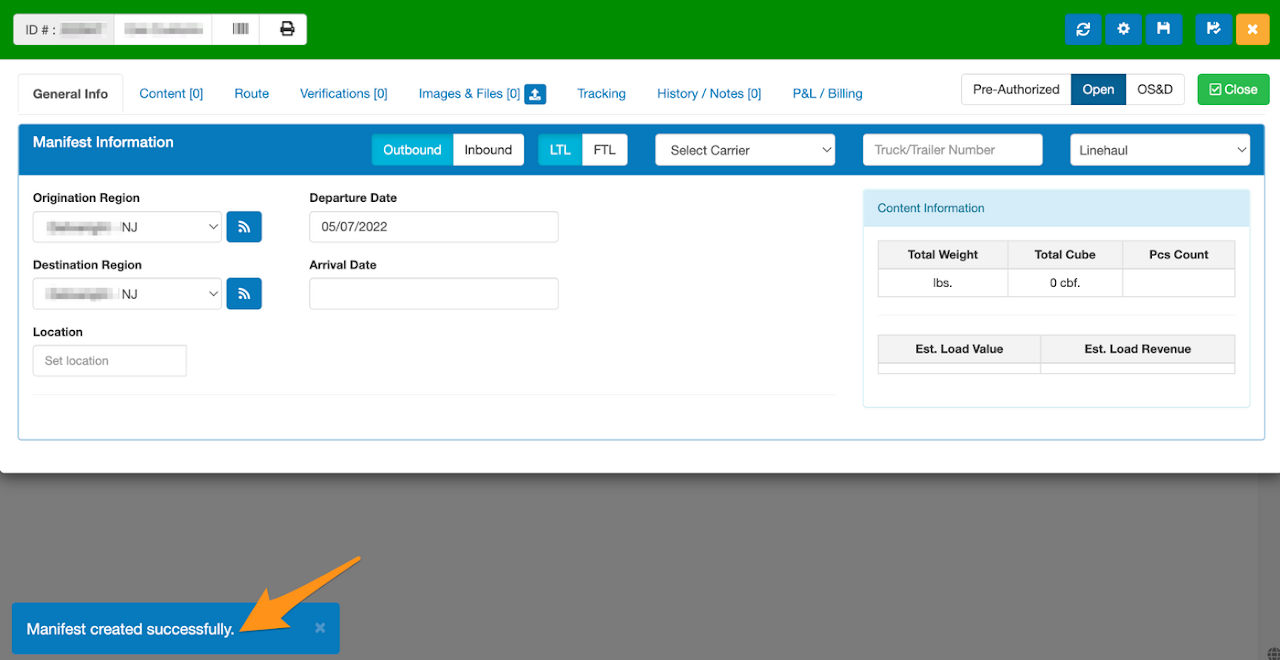
Confirmation that the Outbound Manifest is created successfully

Step 3
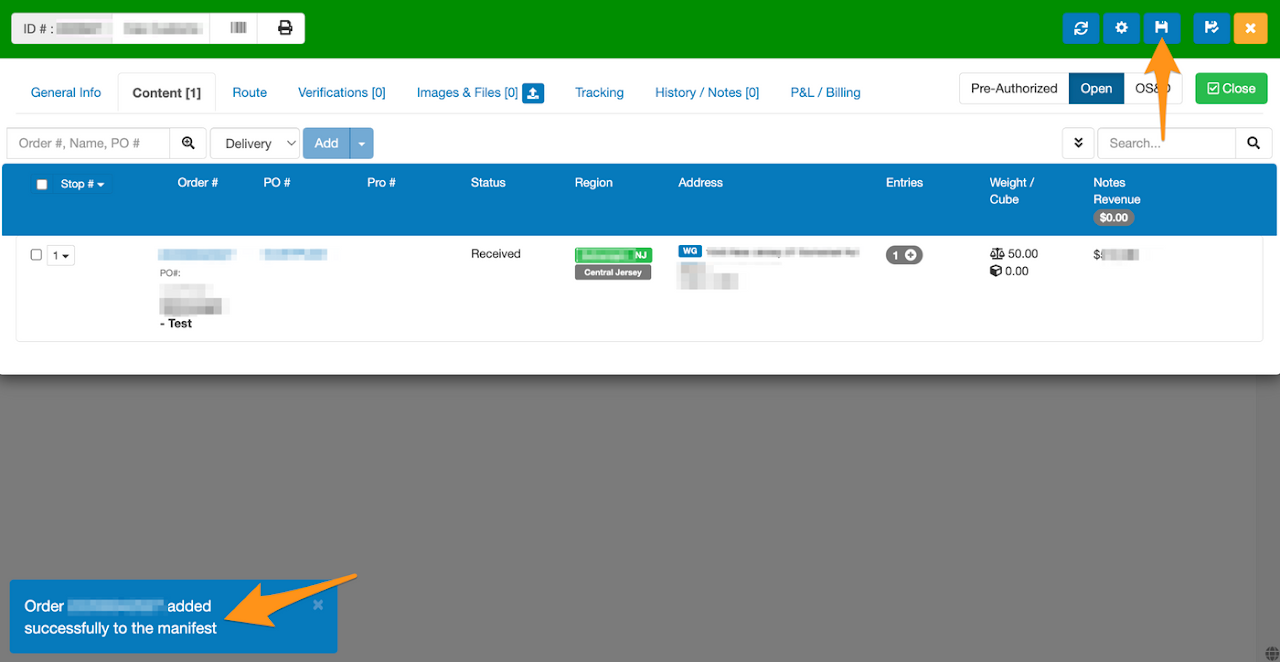
In the Content tab, enter the Grasshopper Order ID, Name or PO Number. Click on the order then Add.
Click the disk icon to save.

Order has been successfully added in the Outbound Manifest

Step 4
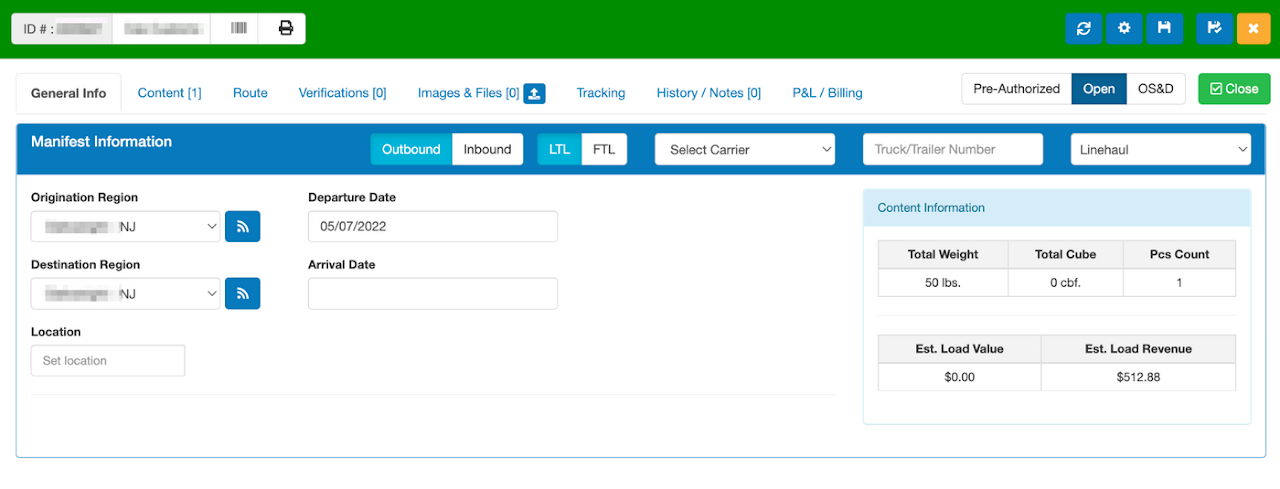
Go back to the General Info tab and publish the manifest

