Step 1
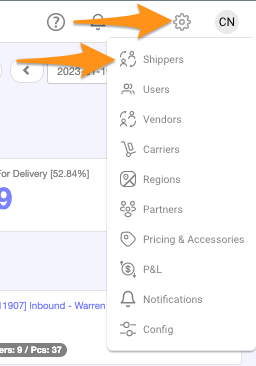
Click on the gear icon then select Shippers

Step 2
Click + New Account
![]()
Step 3
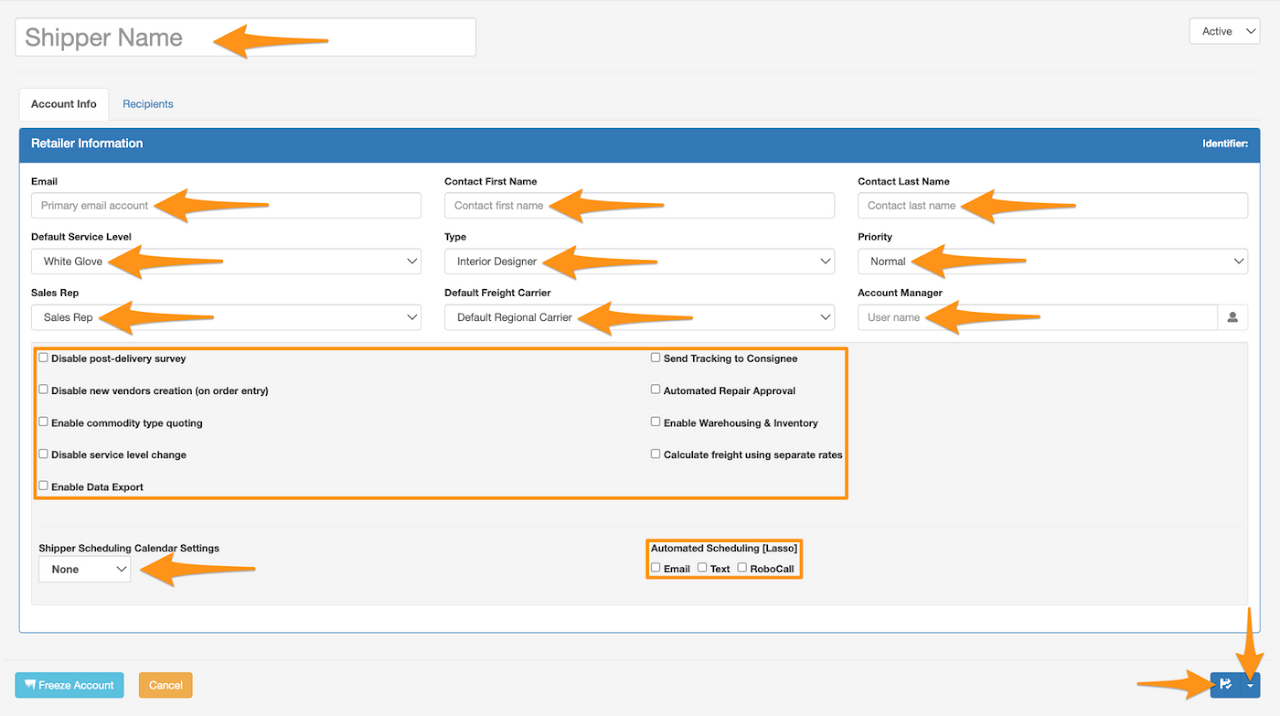
Create a Shipper Name (Account Name) and enter the required information.
Select the appropriate boxes – services and features of the account, calendar settings (None, View Only, Scheduling) then click the disk icon to Save.

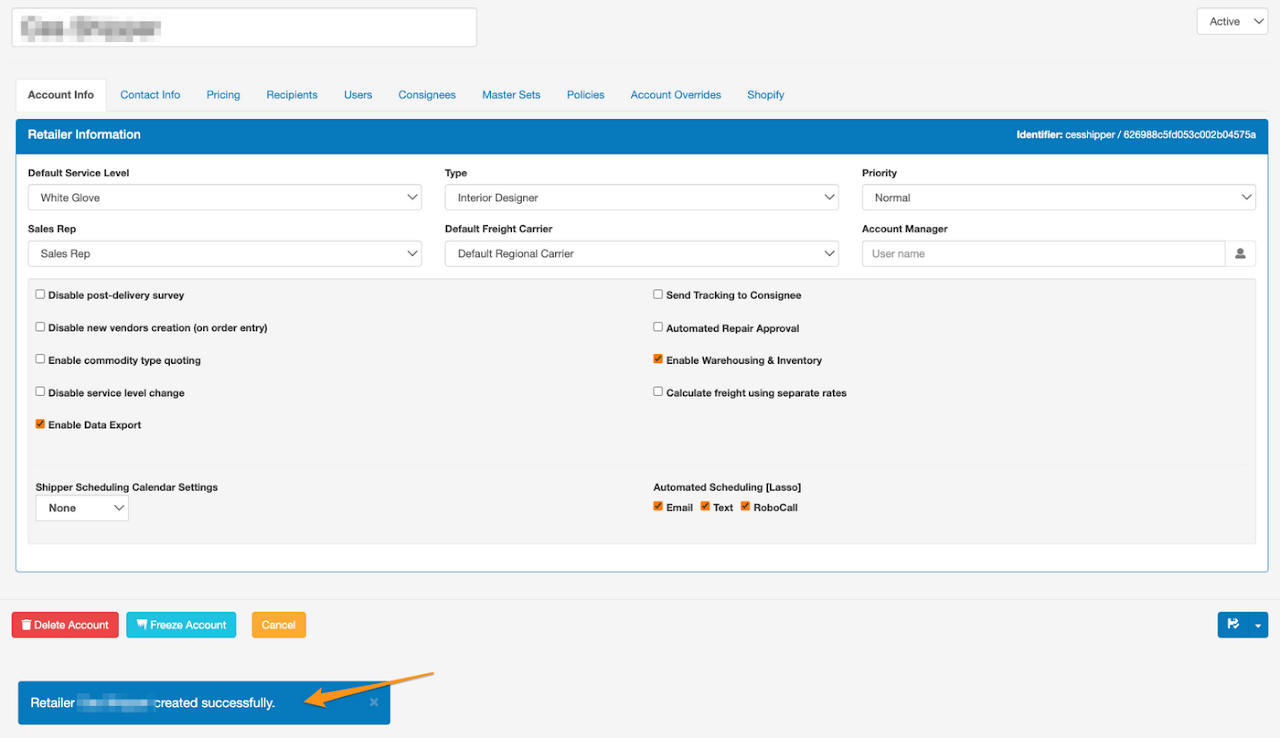
Confirmation that Shipper creation has been completed

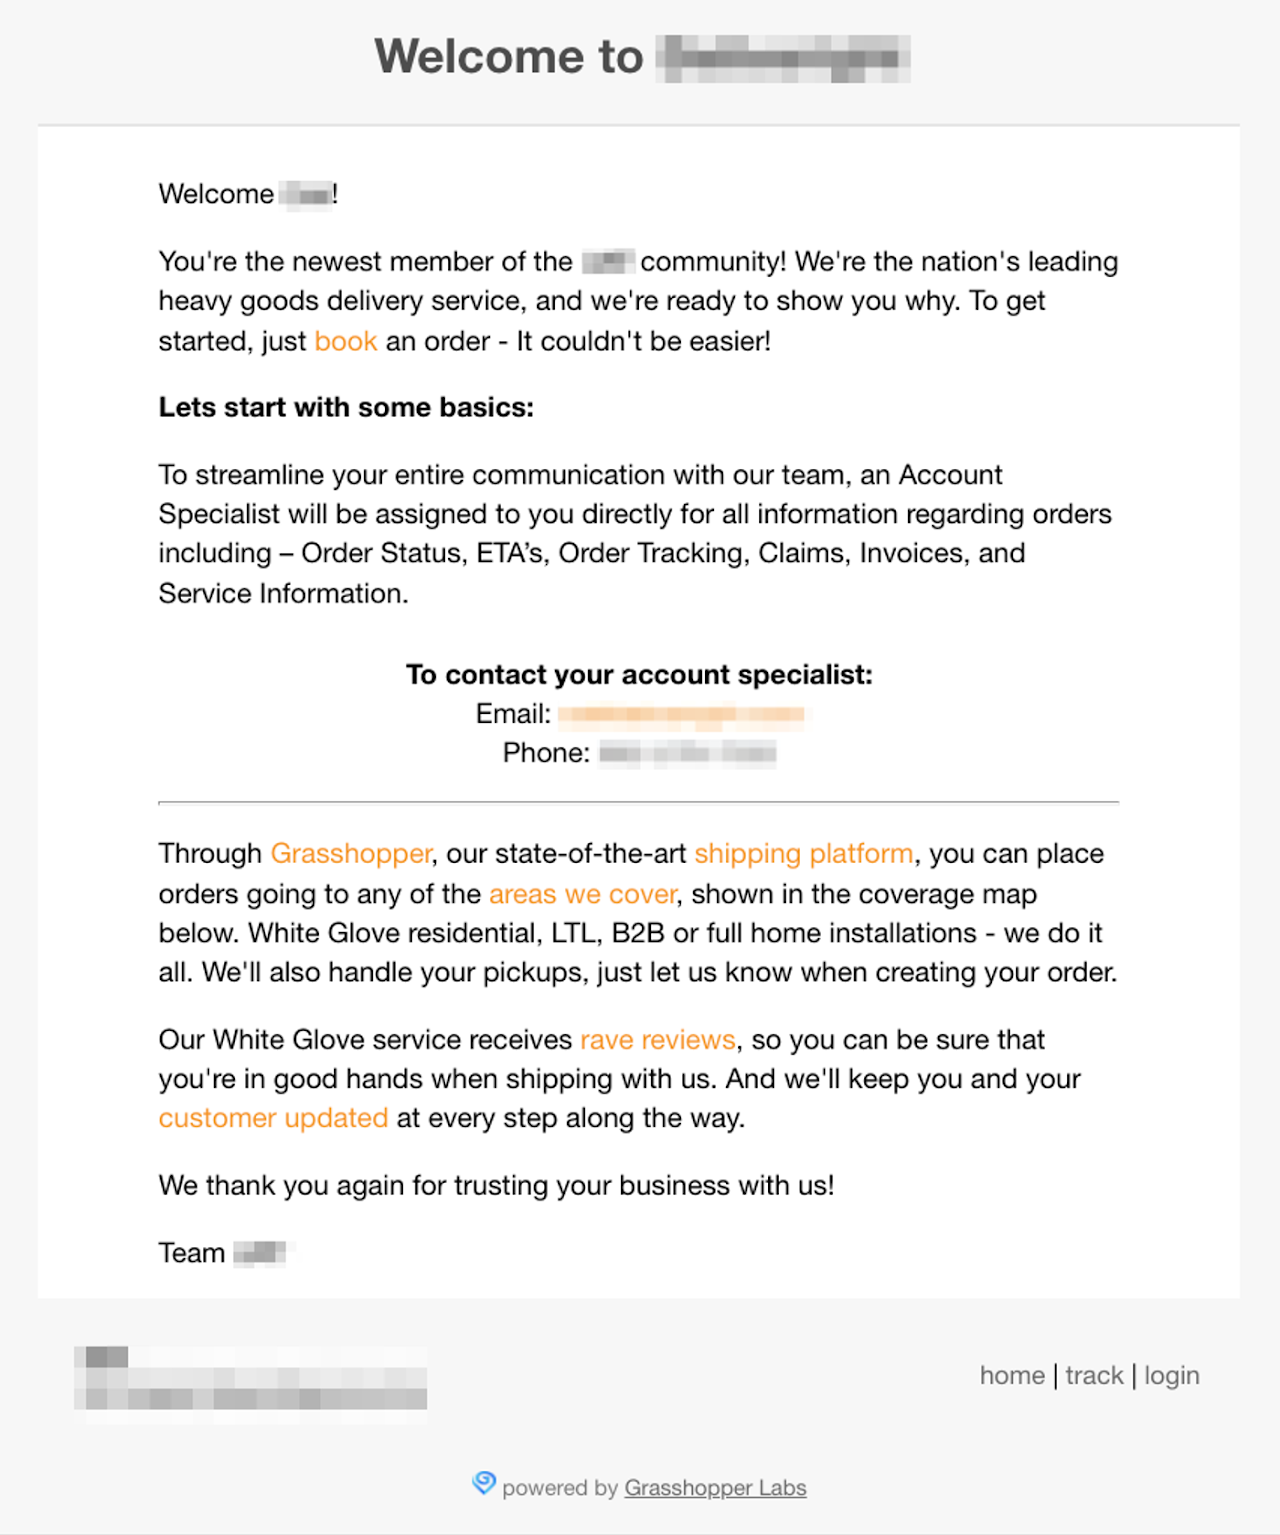
Welcome Email to the Shipper

