Step 1
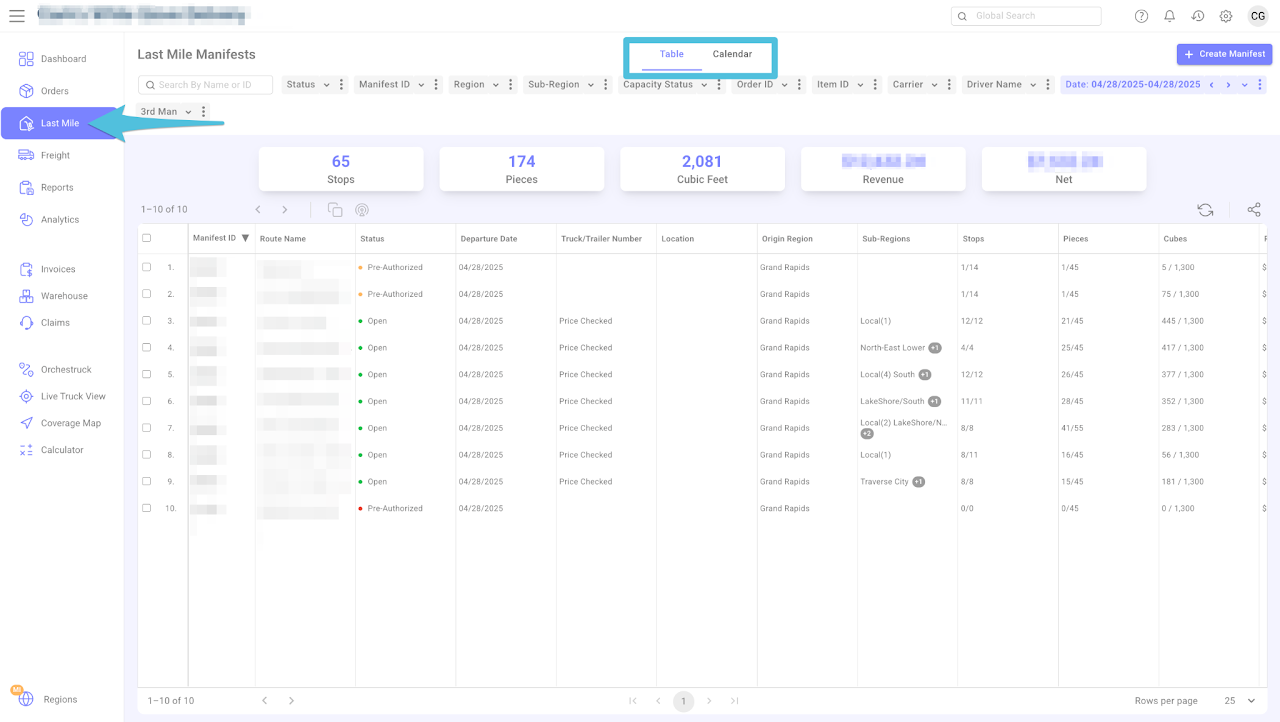
Click on Last mile and select either table or calendar view.
Step 2
Navigate to the desired date and click Apply. Next, select the manifest you want to route and click to open it.
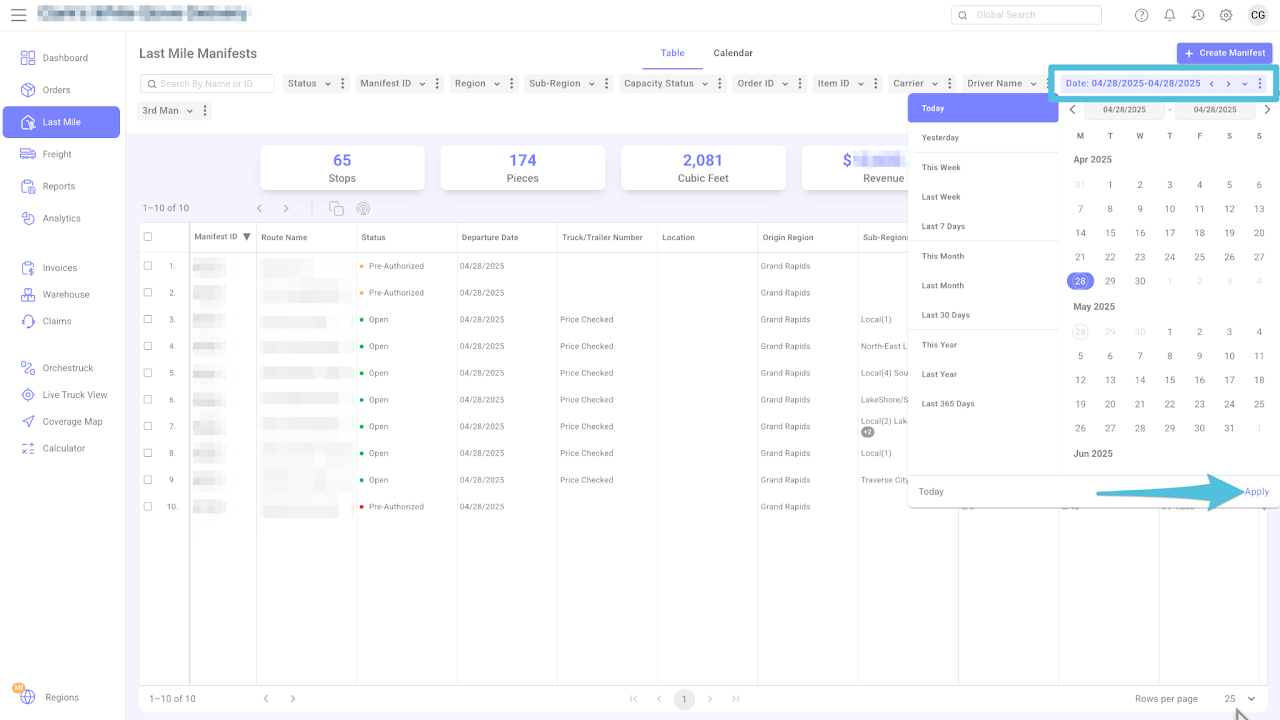
You can also search for the Last Mile Manifest by entering the Manifest ID or Name in either the Global Search box or the Last Mile Manifests section.

Step 3
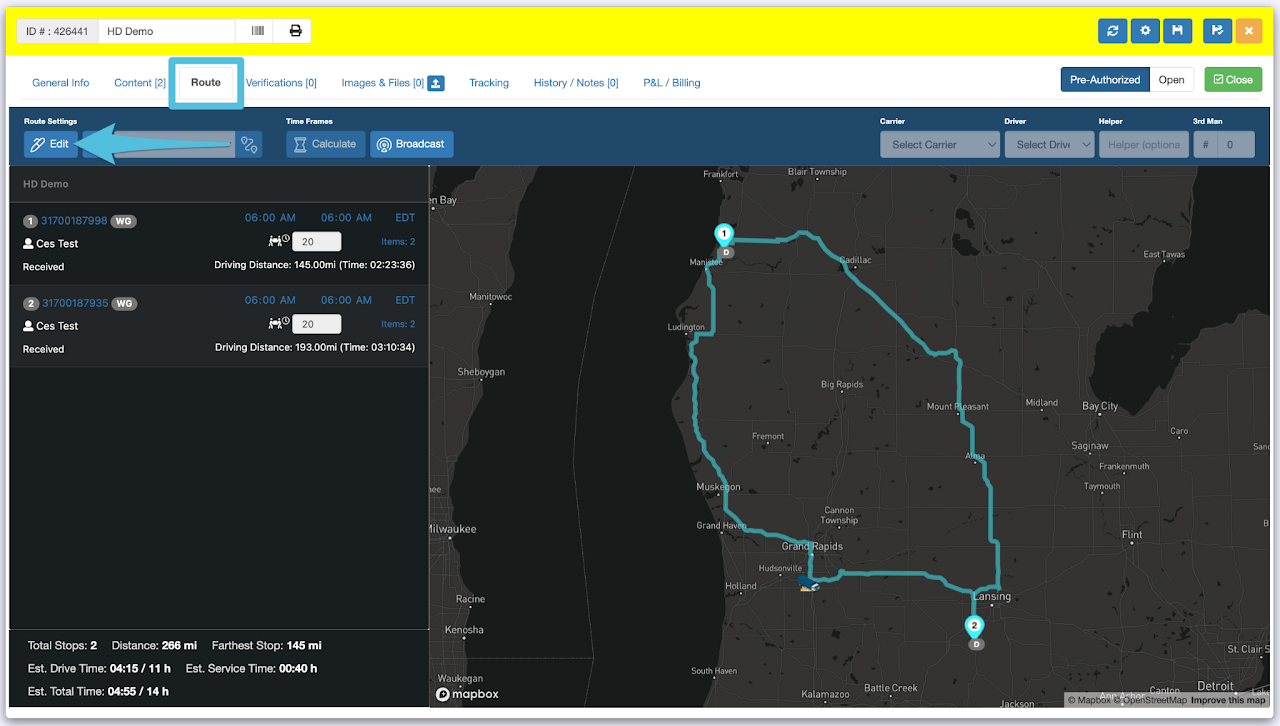
Once the Last Mile Manifest is open, go to the Route tab and click Edit.
Click the dropdown list and choose either Auto or Short Distance, based on your preference, then click the Route icon to start building the route.
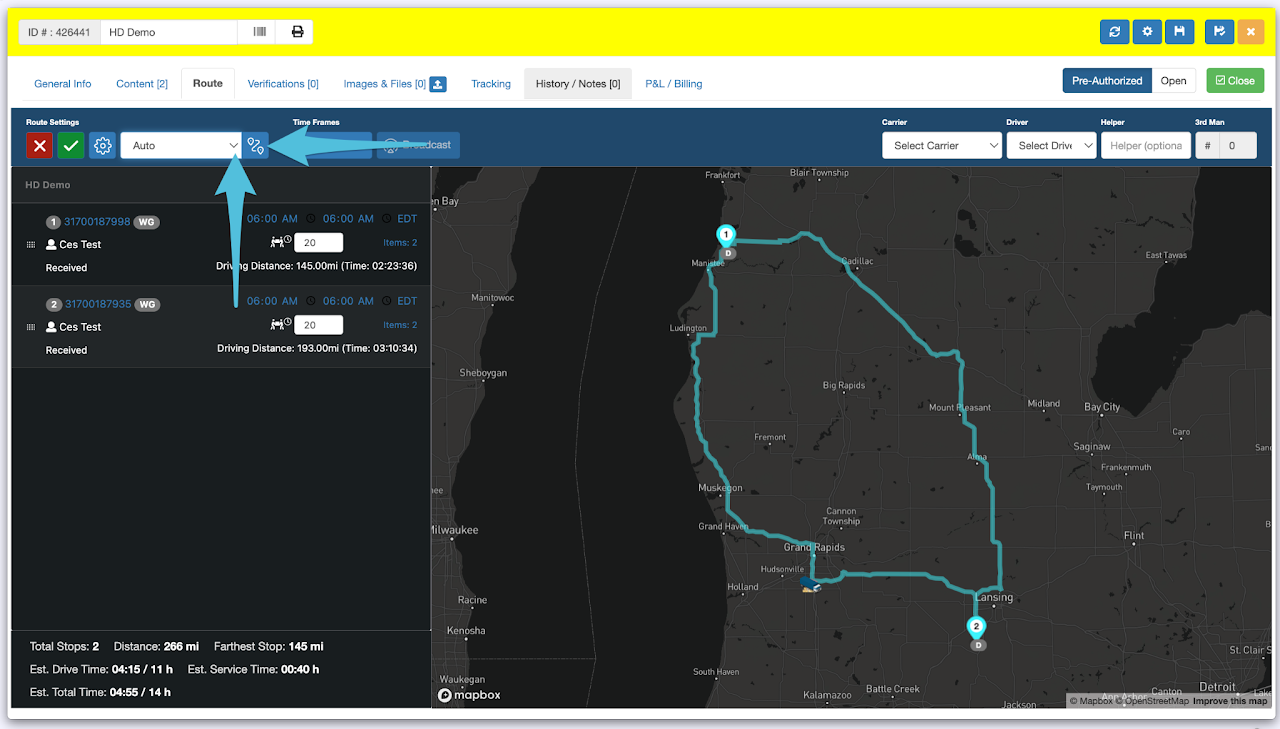
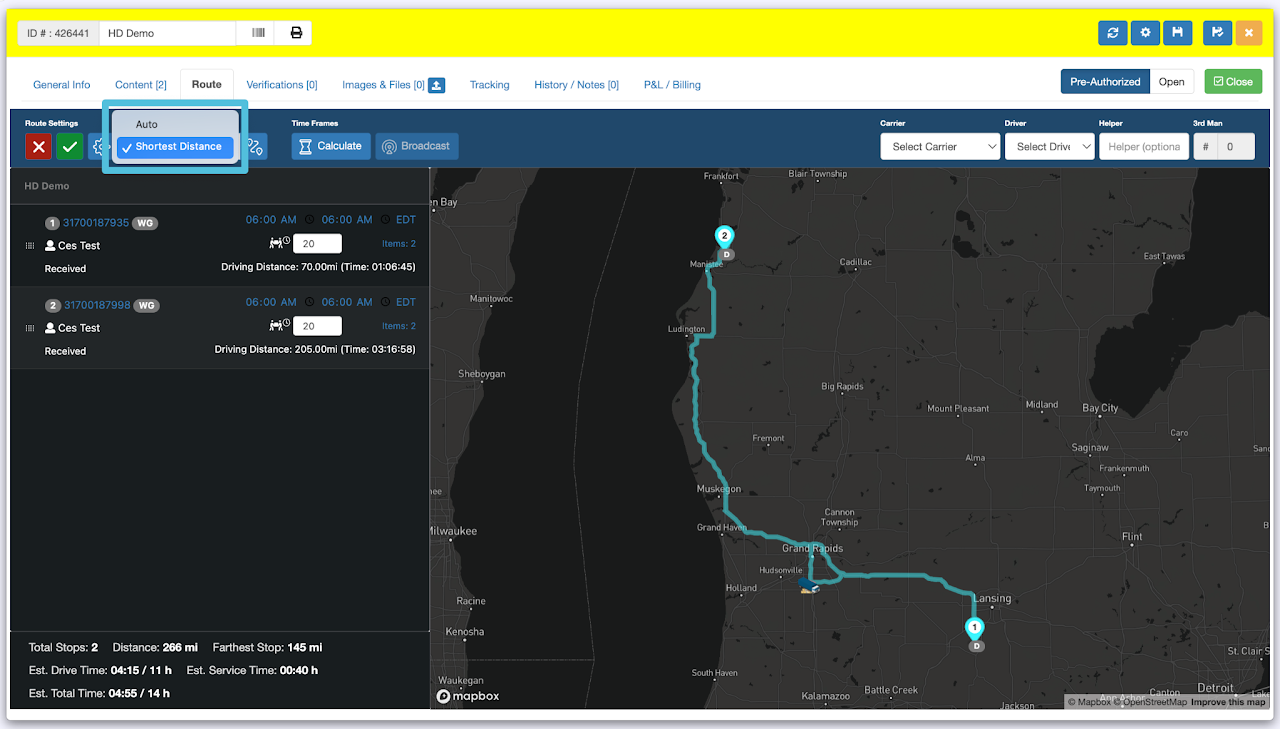
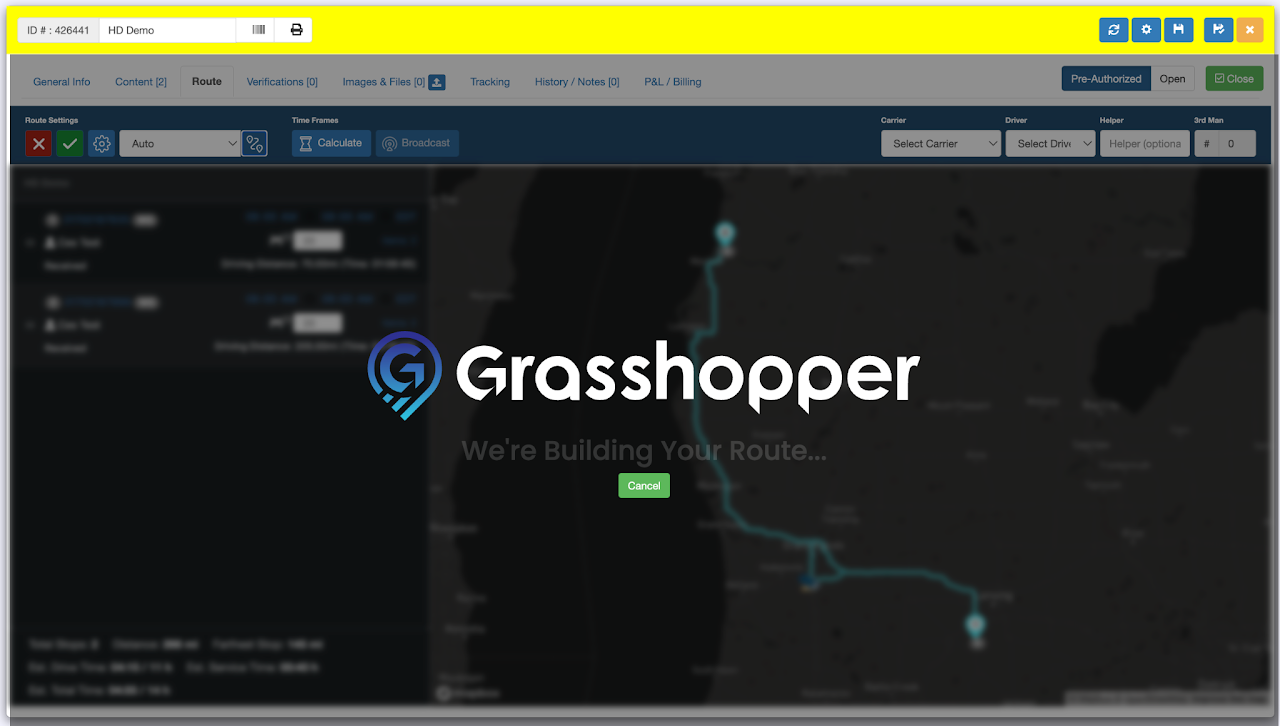
Confirmation that the route has been built.
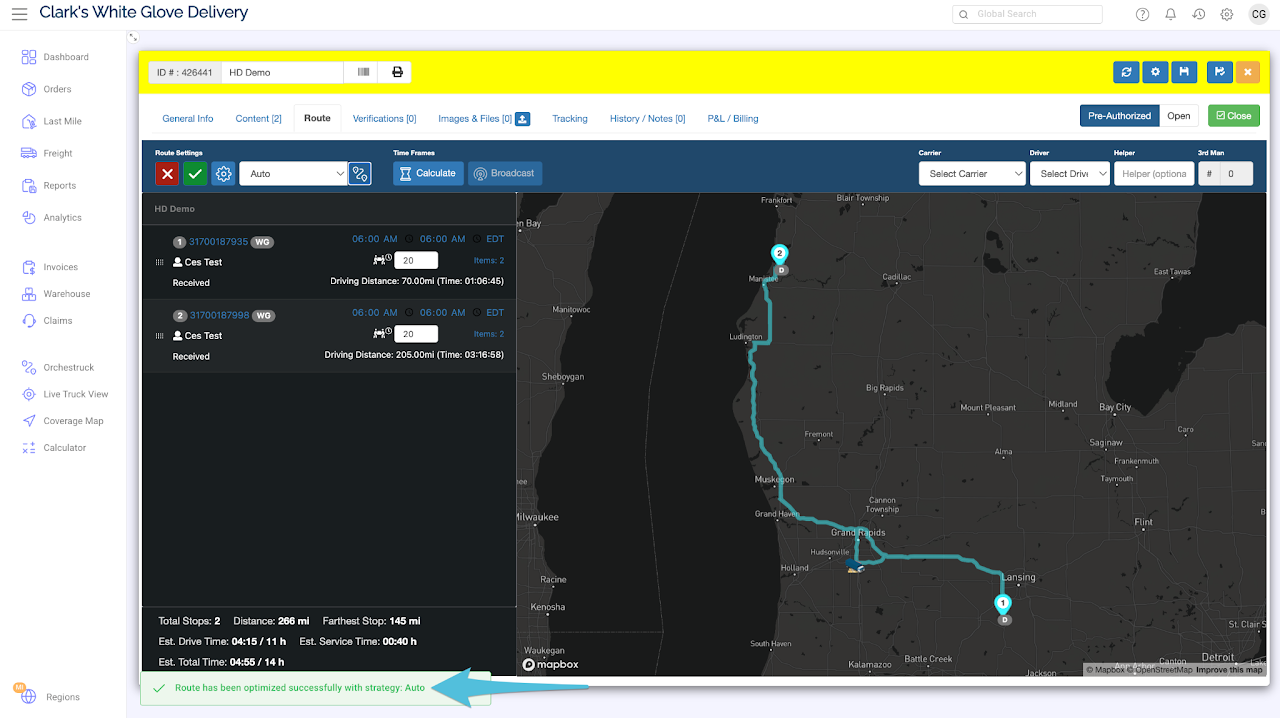
Step 4
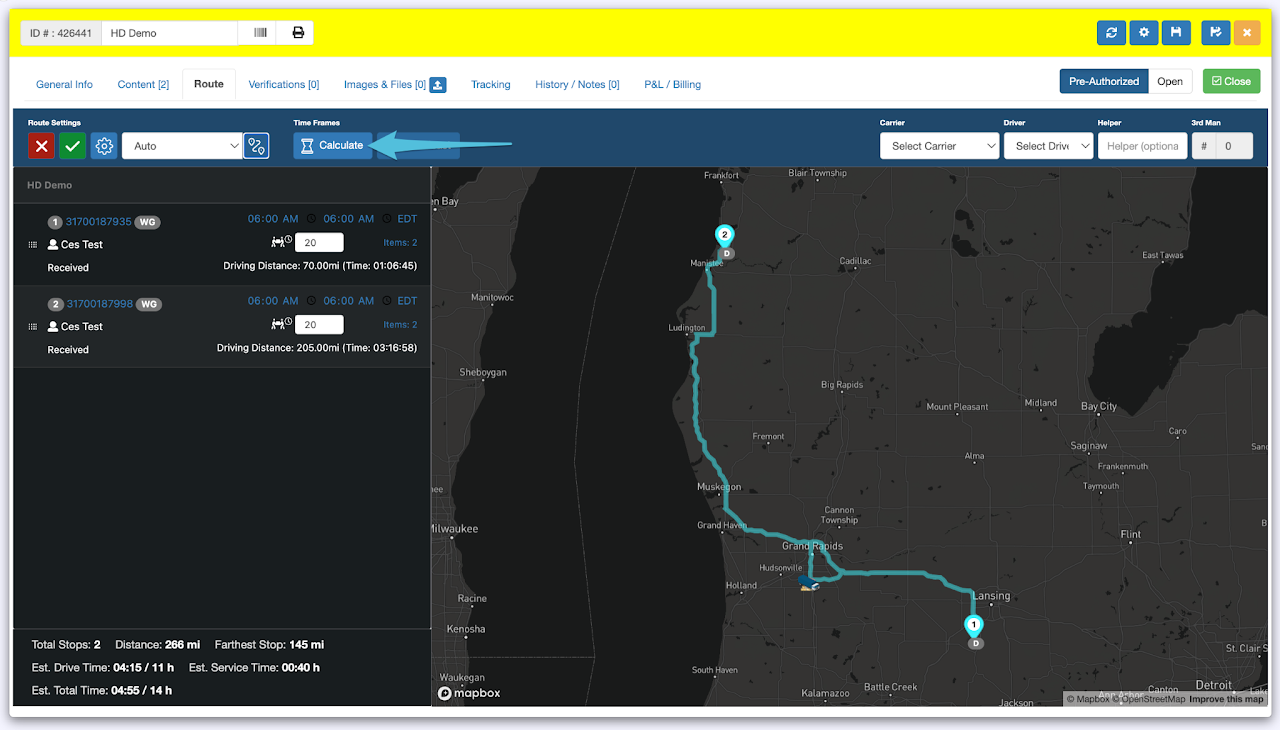
After completing the routing, click on Calculate to calculate the time frame.
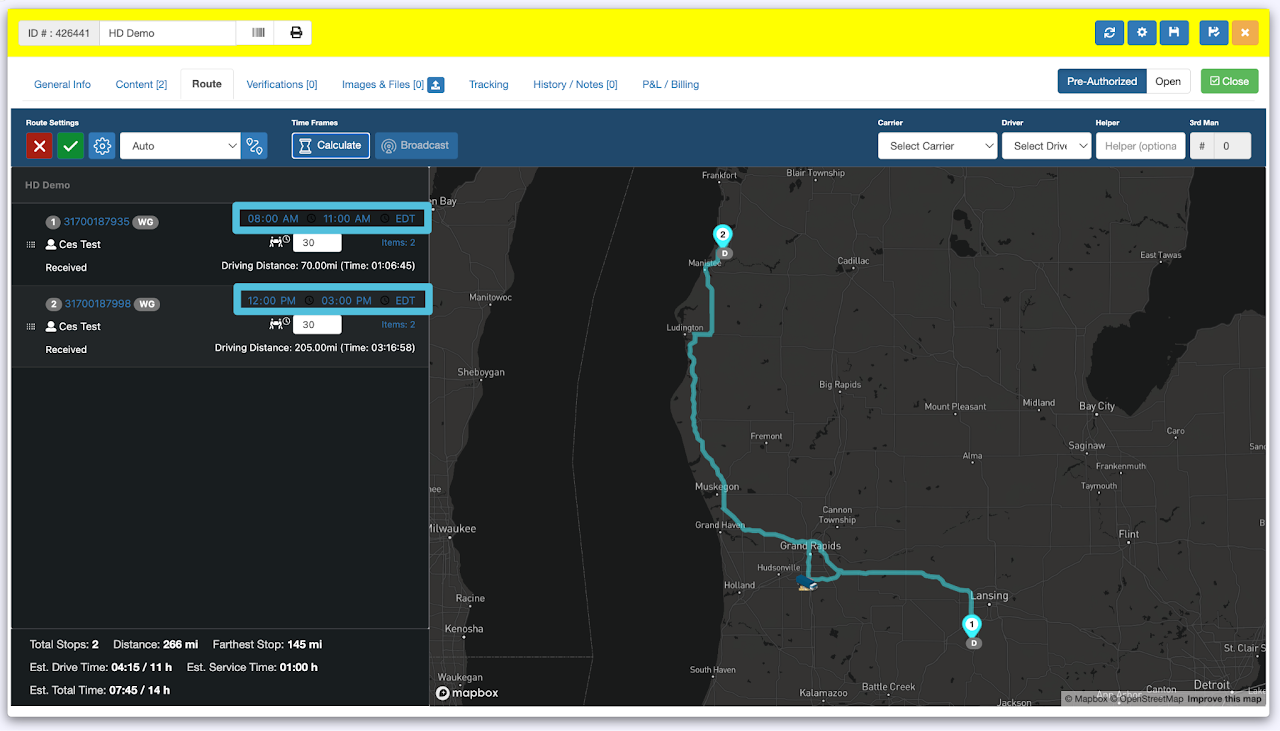
Adjust the Truck Departure Time, First Delivery Hour and Delivery Window (Time Frame), then click Calculate.
You may also adjust the Service Time per your preference.

Updated Time Frame
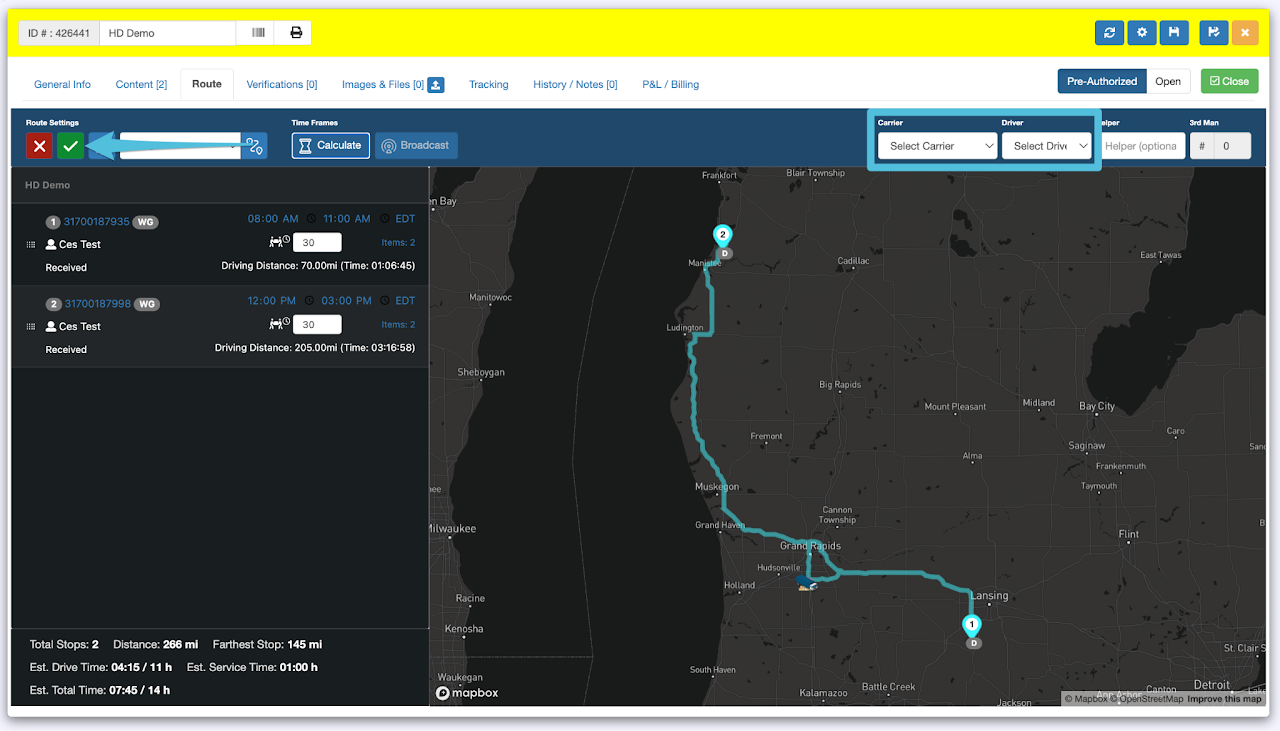
Step 5
Assign the Carrier and Driver then click the Check icon when done.
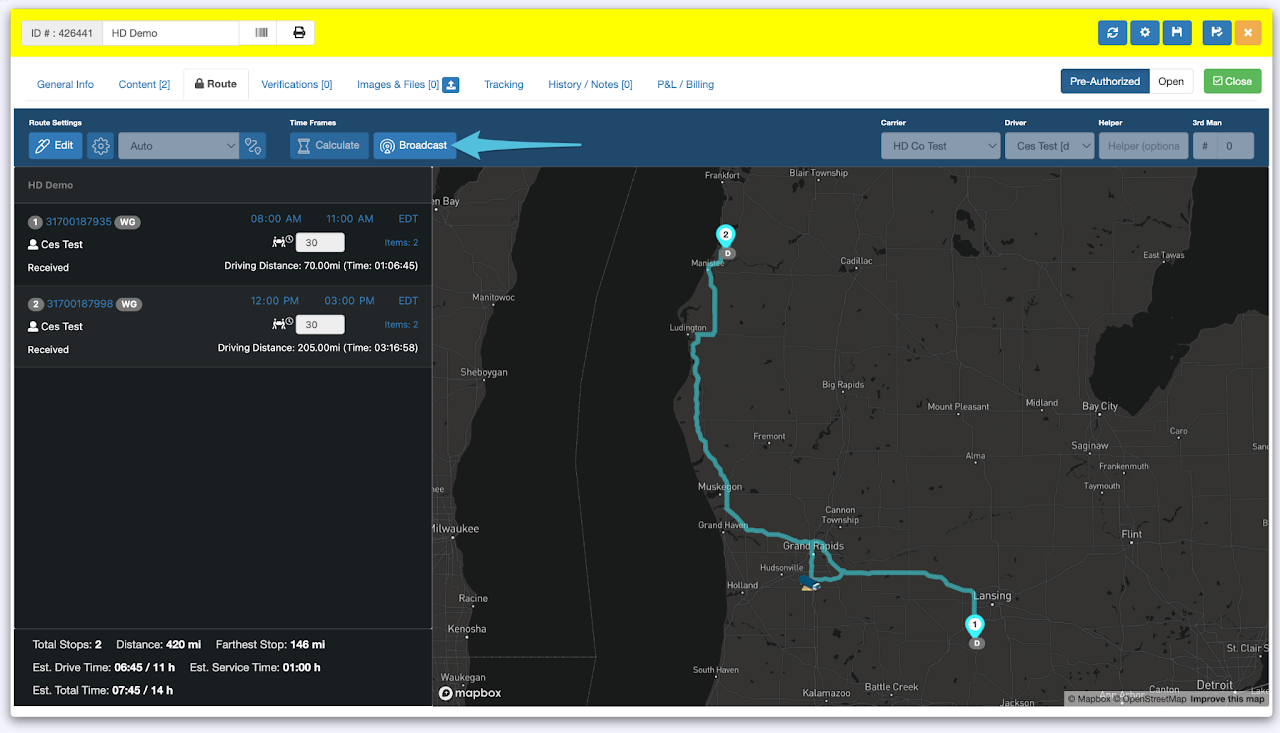
Step 6
Click on the Broadcast Time Frame and select all 3 modes (Email, Text and Call) to send out the delivery window. Click Send Time Frames

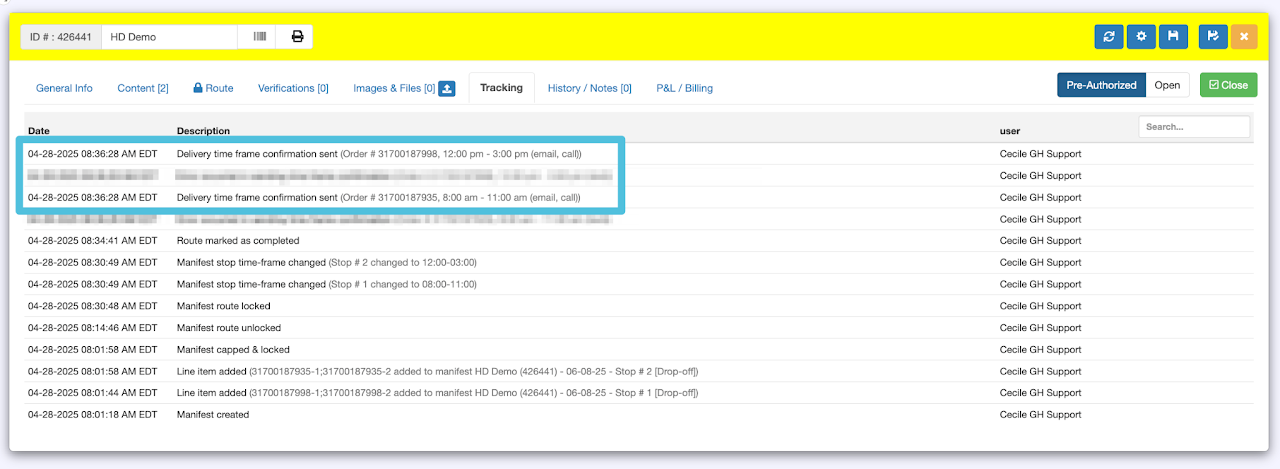
Confirmation that the Delivery Time Frames have been successfully broadcasted. This can be found in the Tracking tab.
